Hi all! It’s been a hot minute hasn’t it!? Ha! While I know it has taken me far to long to brush off the ol’ blog, I am so happy to be here today and share with you my newest make!
Welcome to my closet Dionne Duster! This pattern comes from the dynamic duo Katie and Mac at Sew Altered Style. I used this Lurex Wool Blend Coating fabric from Minerva, and if you look close it has acrylic bands of gold woven in and such great texture. It is a complete stylistic dream!

I was first drawn to this pattern because of its amazing lines and sleeve detail. Aren’t those cute little gathers around the cuffs so fun?! Also, I love the length and knew it would become a staple in my closet.

However, per usual, I didn’t completely follow the rules. I made my duster out of fabric NOT on the recommended list. There is no stretch to this fabric, which caused me to make a few small changes.

With a non stretch, it was important for me to look at the finished garment measurements and determine how much ease my desired size would have once it was all made up. If it wouldn’t be enough to get my arms into the duster, then I knew I needed to size up. This is however, I should note, a forgiving pattern to make in a non-stretch as it remains open in the front.


Armhole size is another thing to be aware of. I made the armholes slightly bigger as I knew there would be no stretch and I wanted them to comfortably fit near the shoulders. My shoulders are wide, but this duster fit them beautifully!

Cuff bands and neckband were the last places that needed adjust when making this pattern out of a non stretch. I added at least an inch to the cuff (sorry, don’t remember the exact measurement). I sewed the cuff into a round, folded it over, and then double checked to make sure it would fit over my hand. Only then did I sew it onto the sleeve.

For the neckband, I also added about an inch to either end. If I had too much I simply cut it off. I then did my best to stretch (which didn’t really happen at all) best I could around the curve of the neck only when sewing it in to maybe make it lay a bit flatter. Honestly, it does kind of stick up but not in a weird way and I love the way it hugs the back of my neck, like a popped collar.

Really that is it for non-stretch tips! I love the pocket size on this duster and chose to line it as I knew my cell phone would be living there often.
I also made the addition of adding a tie for the waist. When I’m cold, which is often, I love being able to keep my jackets, coats, dusters or cardigans shut so this felt like an obvious good choice to me.

That’s it! If you have questions feel free to ask! I might not have the answers but I will sure try to help! Happy sewing friends!
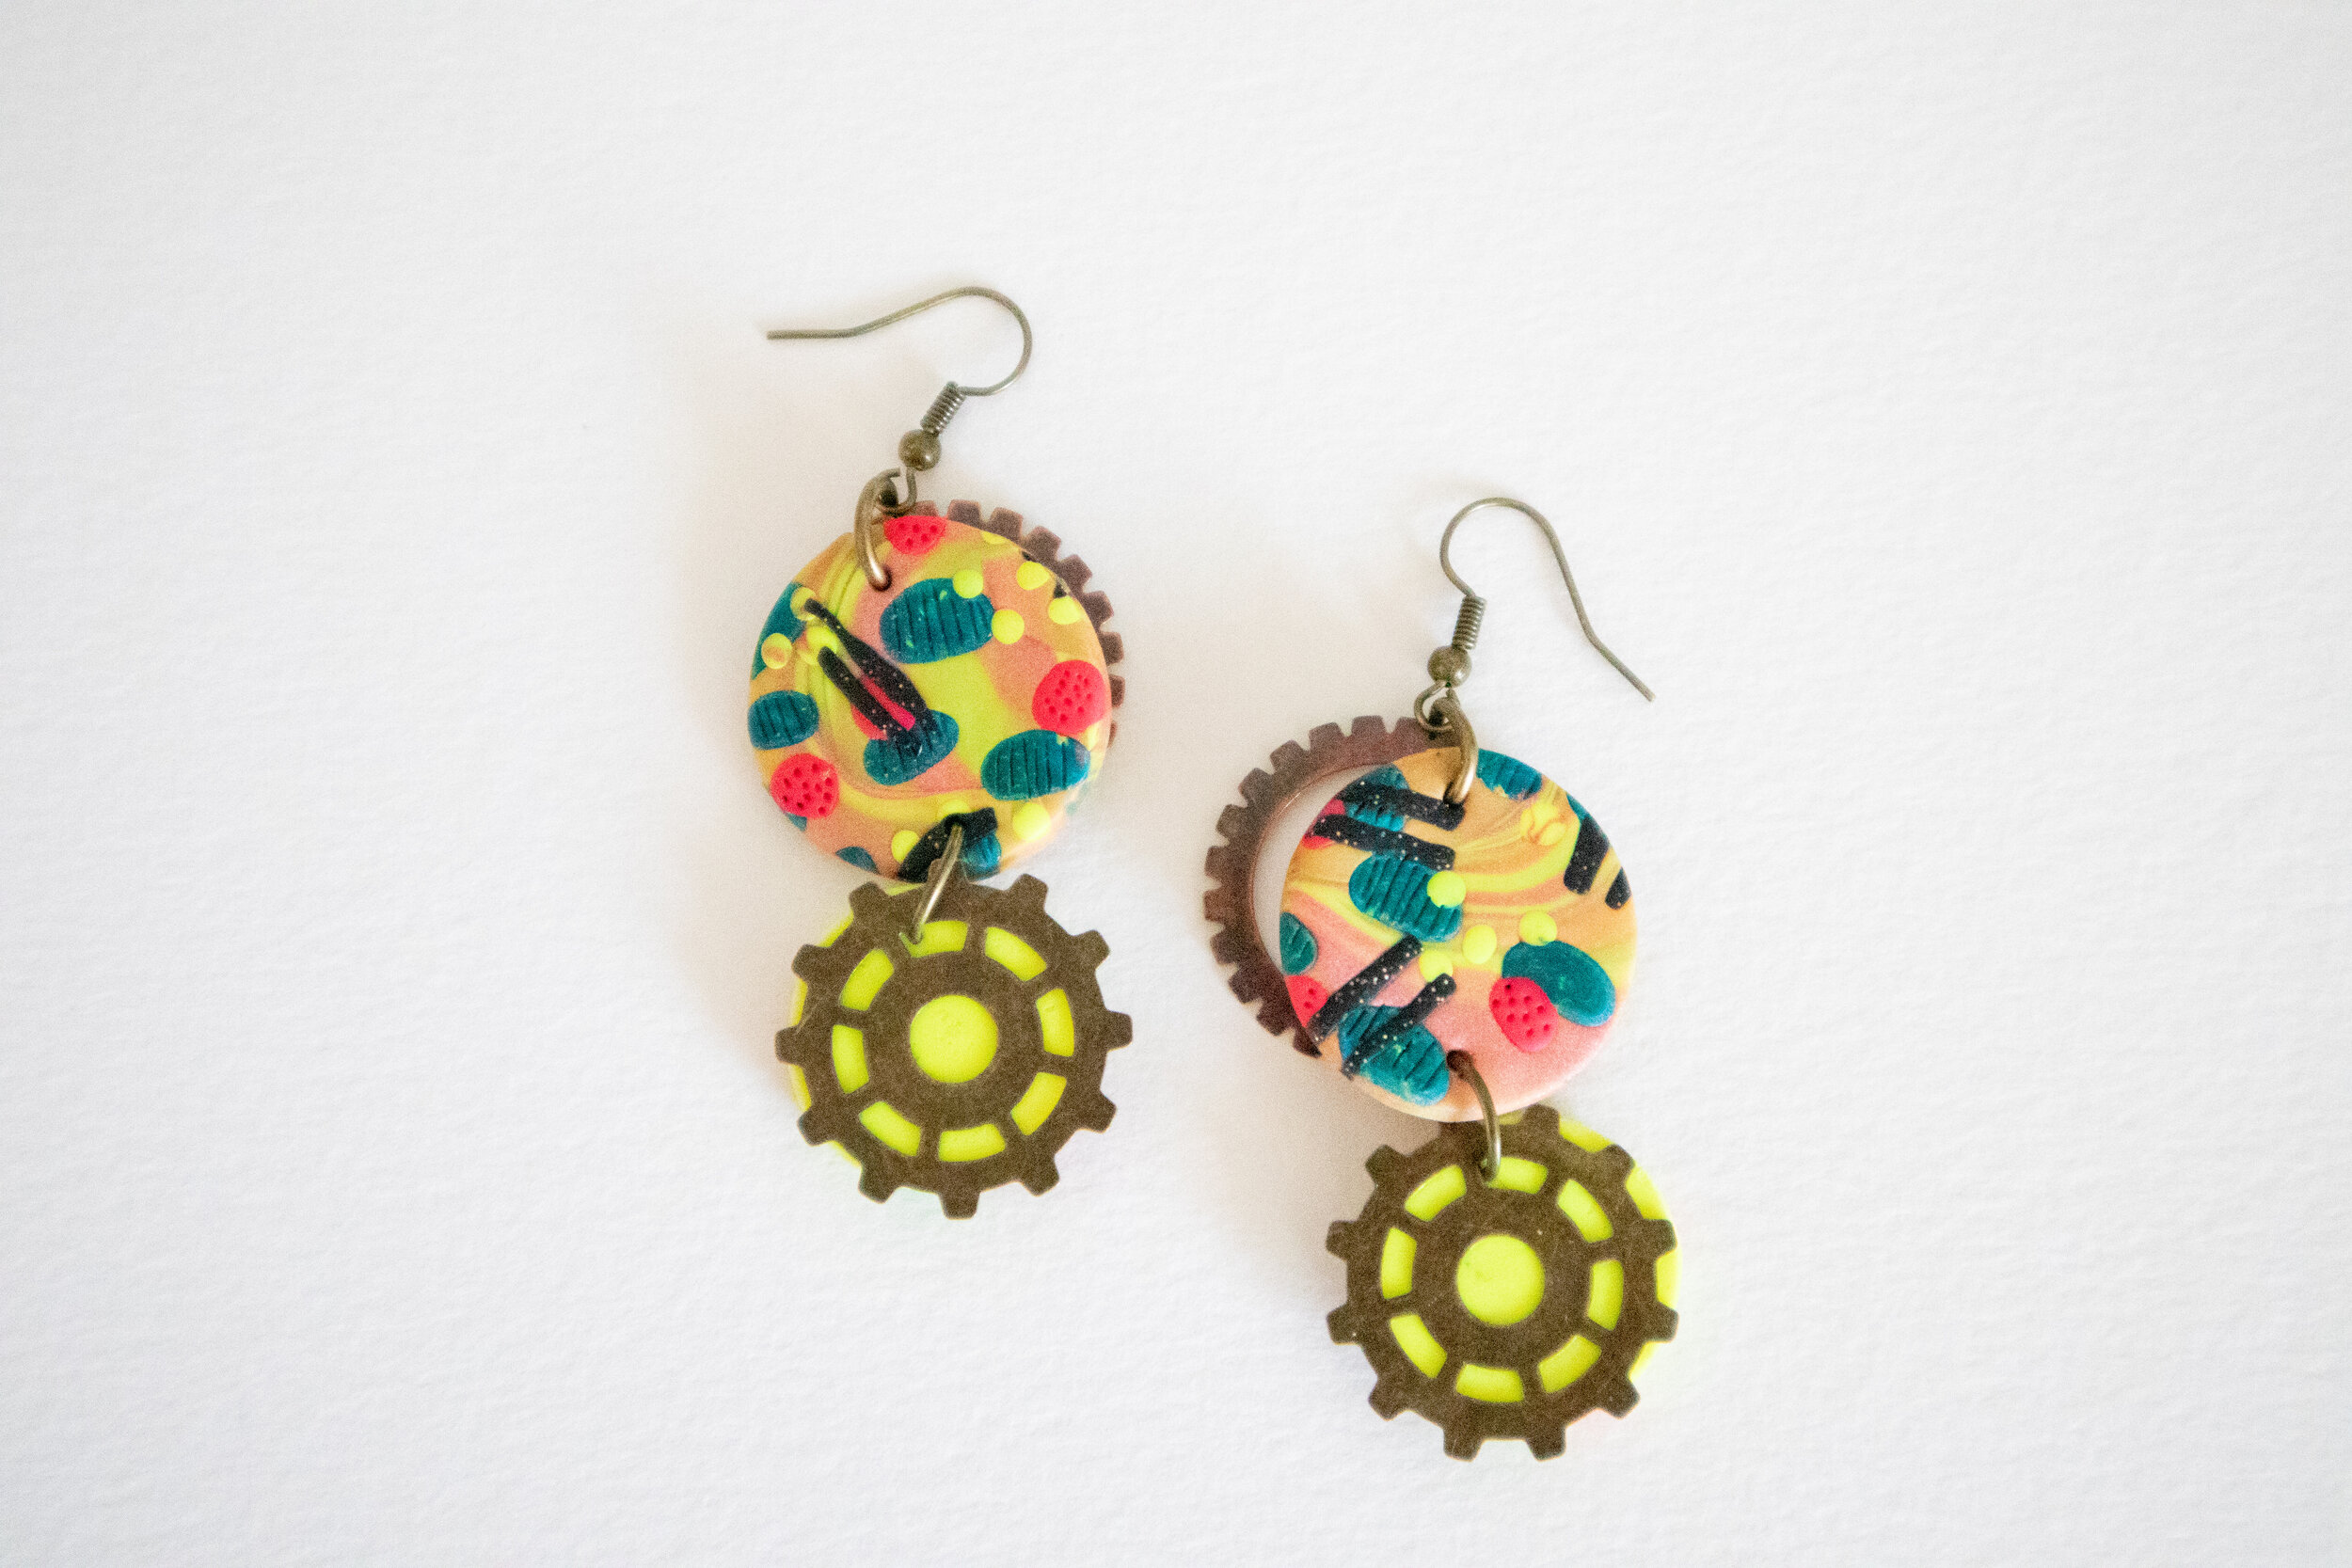
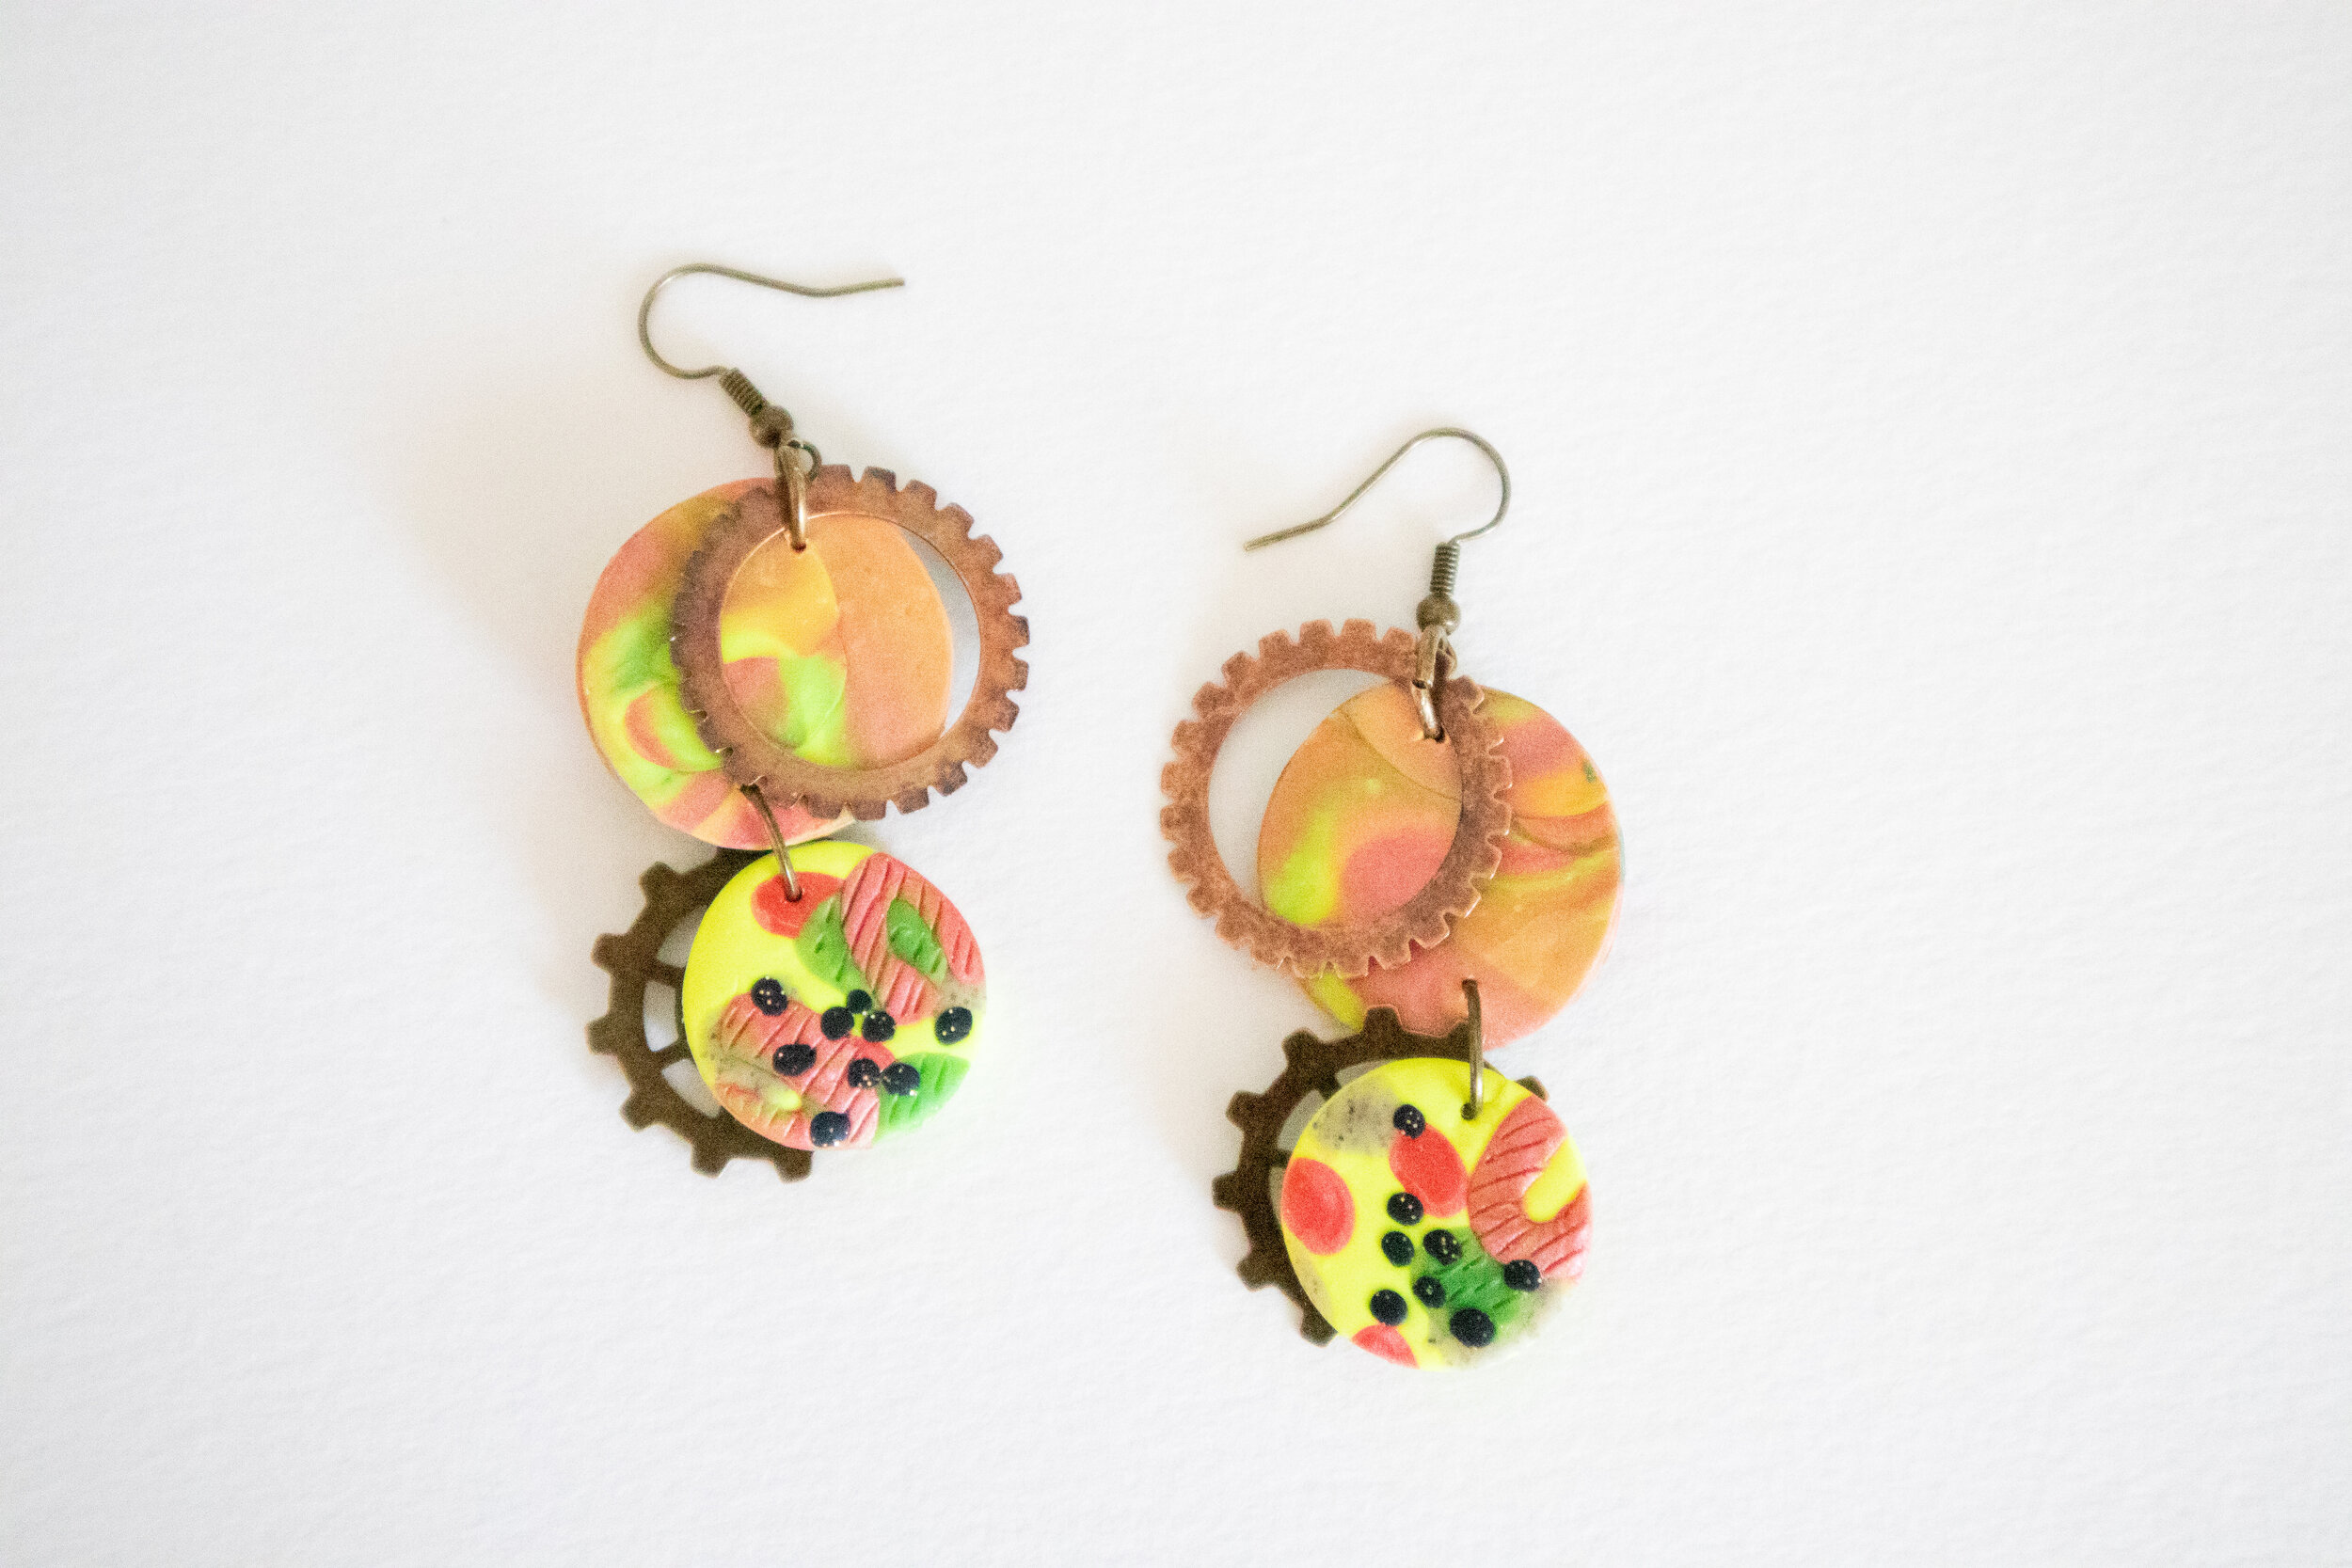
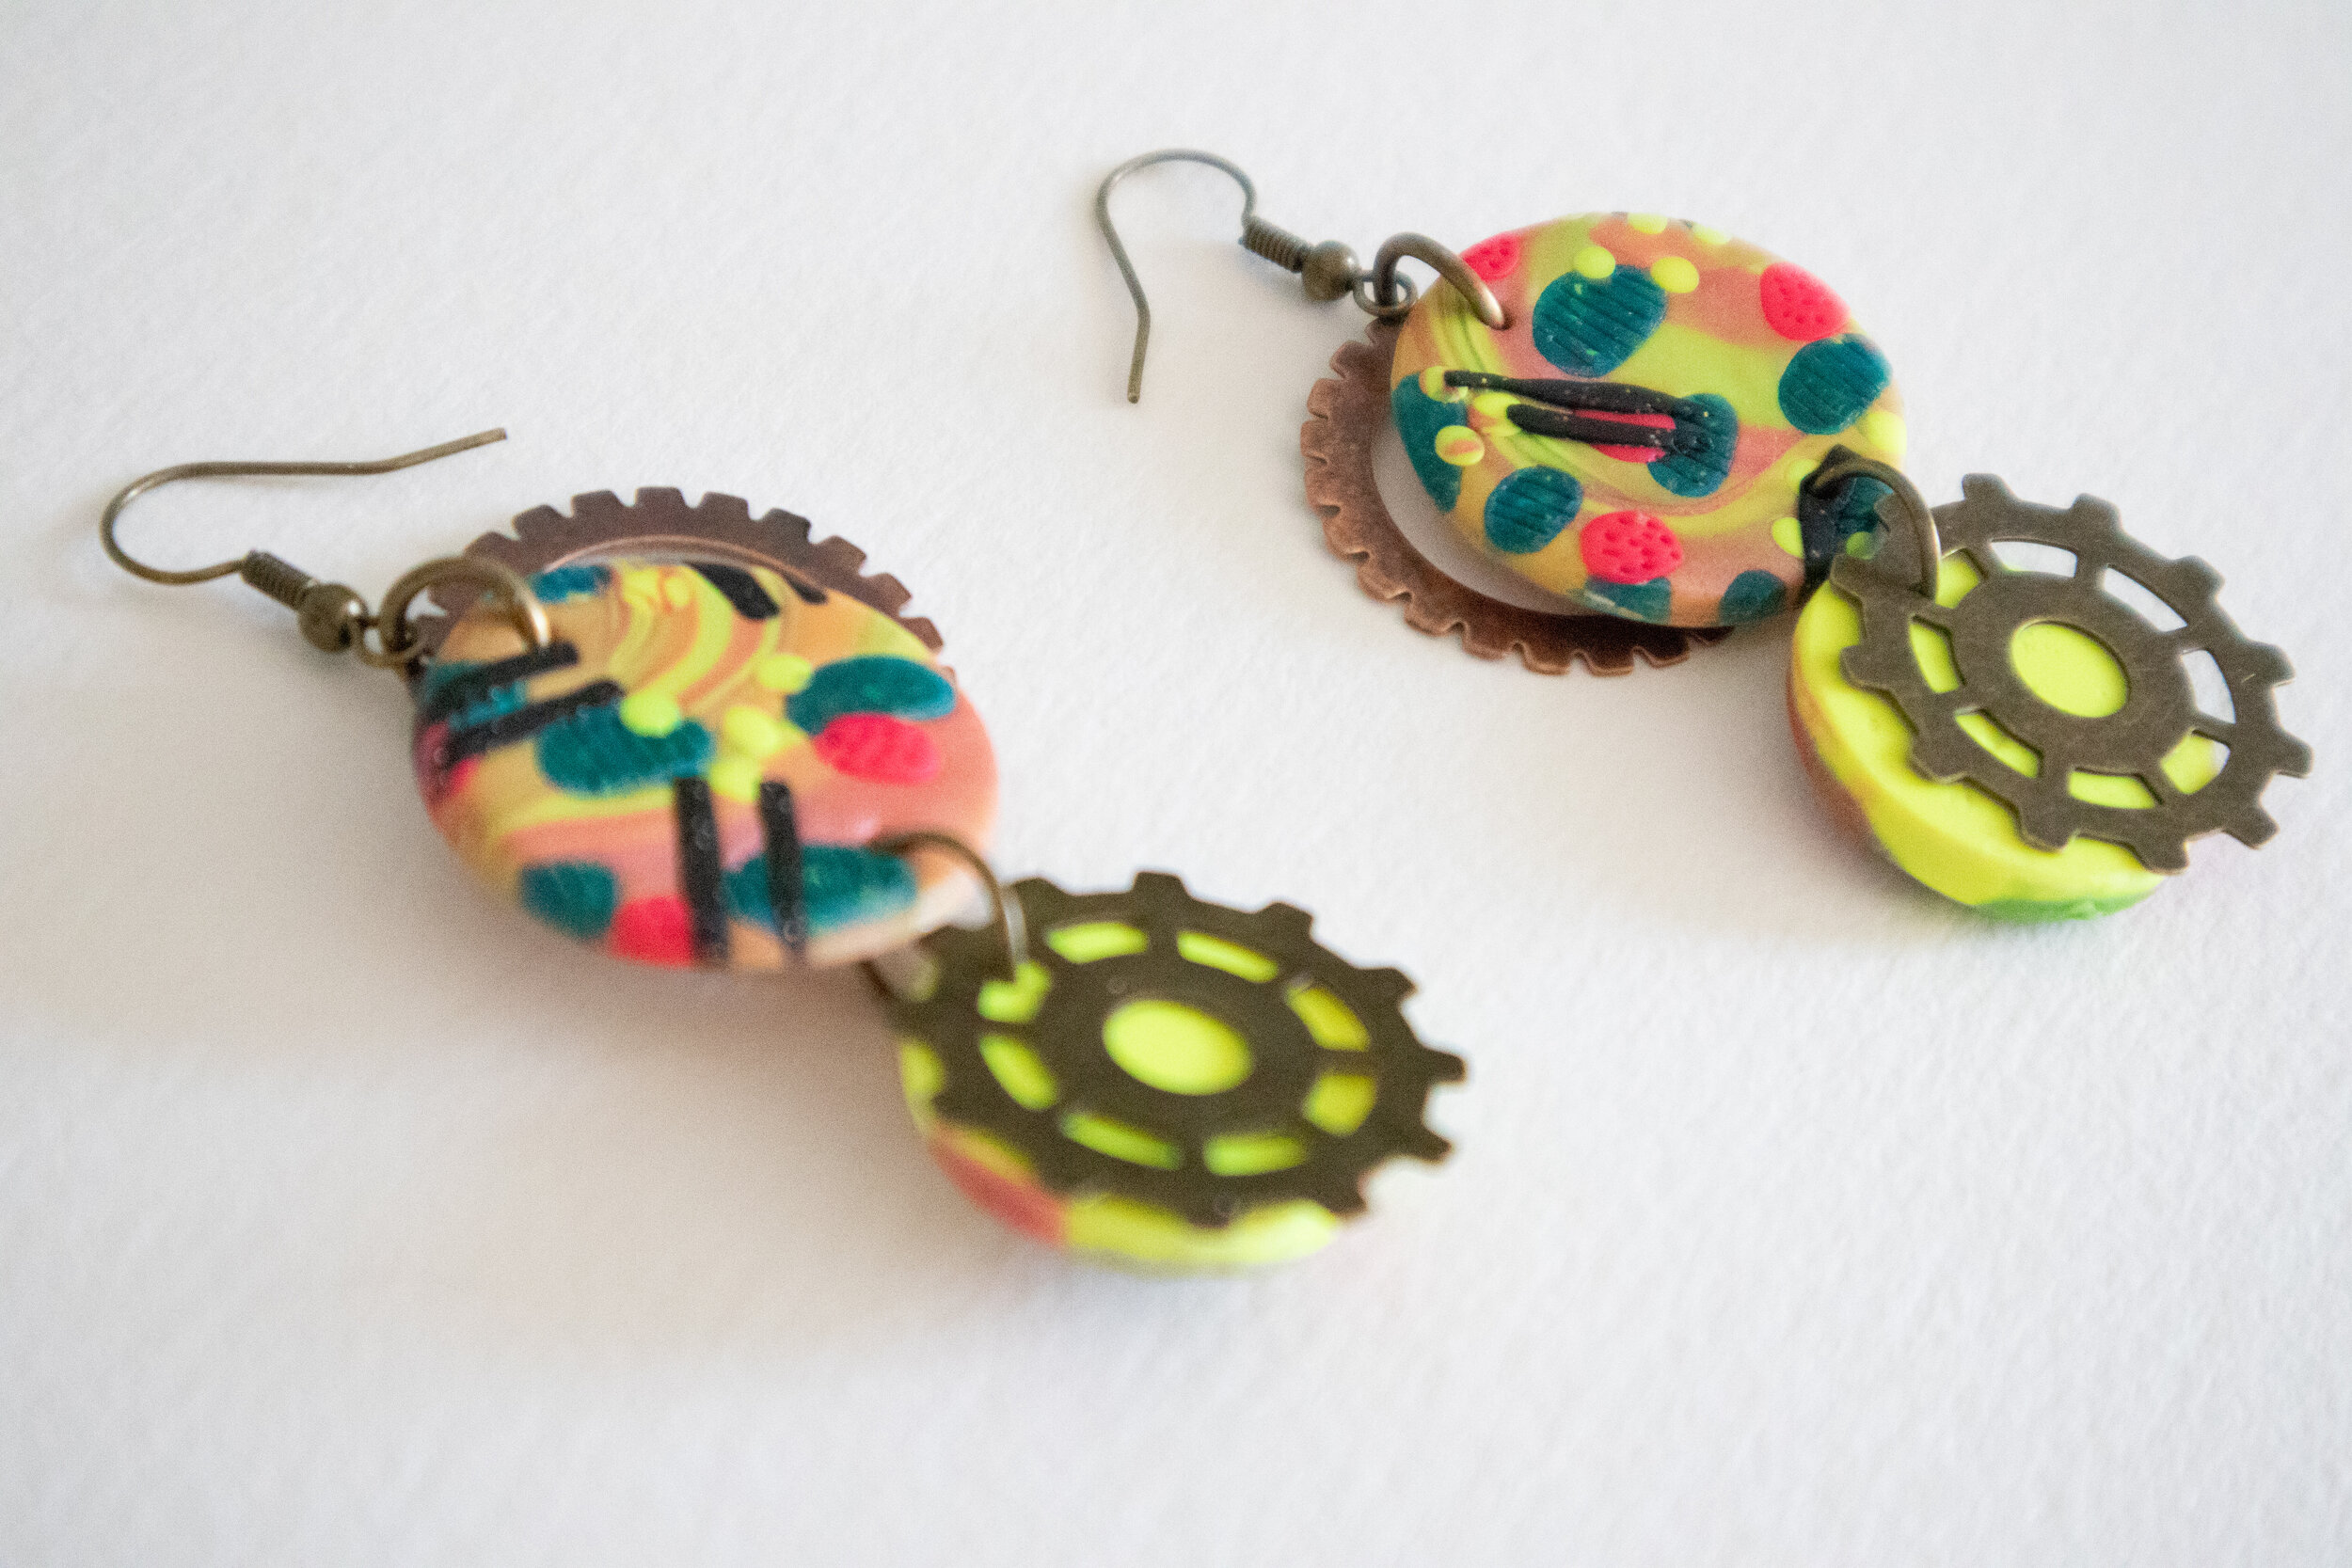
Oh, and in parting, I just have to share my newest polymer clay earrings. I am new to this craft, but just loving every part of the process of learning. I have always loved earrings, and learning to making my own is so fun for me! This is the front and back of the same pair - so if I am wearing them with my hair up they look cute and spunky from every angle. Ha!